


")
")


")


")

")


")


")
")


Perhaps you purchased a new bread baking machine but it is not totally clear to you how to use it? Let me help you. Here is how I bake bread in my machine.
ought the bread baking machine Panasonic (SD-ZB2502). It works great although it has 27 baking programs out of which I use only one – the 12th ‘gluten free program’ ;-).
I bought my machine on the webshop Bobshop.nl. I buy most of my household accessories there. They simply have the sharpest prices, deliver products fast, and give a professional service.


The baking form and the stirrer are coated (btw. I’m not too happy about this). That means that spoons and spatulas should not be used upon handling it. They would easily make scratches and destroy the coating. For the same reason, it is also important to clean the baking form and the stirrer with water and soft sponge only. There are two different stirrers included to the Panasonic machine, one is suitable for strong dough (containing gluten) and the other (picture) is best for weak dough (like gluten free).
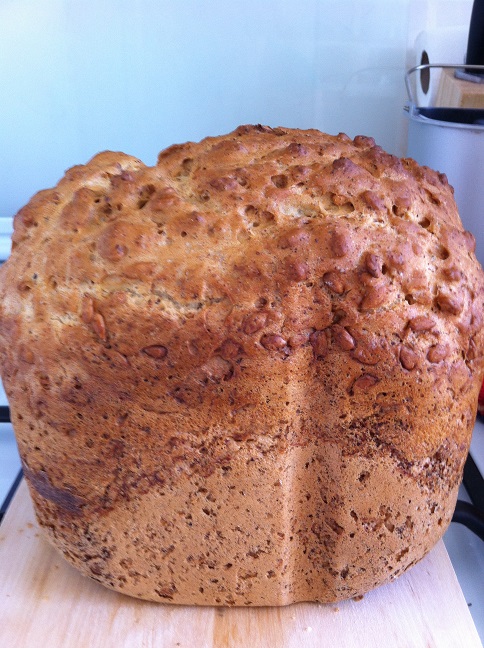
Yesterday, I was testing the flour mix for brown bread from Glutafin. The box contains 500 g of the flour mix and a bag of dry gluten free gist. Funny, I noticed it only after making the dough since that was something I haven’t expected. Most of brands do not include gist with the flour mix. Personally, I found it a little annoying that there is 500 g of flour when the recipe requires only 375 g of it. But no worries, the rest goes easily to the multi-flours dough for baking the buns (recipe).
Ingredients for Glutafin’s bread
- Glutafin flour mix – 375 g
- Warm water – 300 ml
- Dry gist -6 g
- Salt 7 g
- Oil – 13 g
- Optional: seeds – 1 cup (I added sunflower seeds)

Needed appliances
- A measuring cup
- A spoon (I use wooden sushi stick)
- A kitchen bowl to weigh ingredients
- A kitchen balance
- A bread baking machine


Preparation steps (with important tips)
- Disconnect the baking form from the baking machine
- Make sure the stirrer is well attached
- Pure 3oo ml of warm water (you can use warm water from a tap) to a measuring cup
- Add the dry gist to the warm water and mix it well until it dissolves completely
- Pure the water with dissolved gist to the baking form
- Weigh 375 g of the Glutafin’s flour mix into a kitchen bowl
- Weigh salt and oil to the kitchen bowl containing the flour
- Add the flour with salt and oil to the baking form containing water with gist (don’t mix it)
- Assemble the baking form with all ingredients to the bread baking machine
- Close the machine and set the program (Panasonic machine: the gluten free program (12))
- The gluten free program does not allow you to control the bread Size thus don’t bother with it
- Set the Crust on light, medium or dark (I always go for dark, it’s nice and crunchy)
- You can press the Start button
- After 2-3 min of mixing, open the machine to add seeds (You can add the seeds before you start the program too)
- The program runs for 1 h 55 min and the machine will beep when the program is over (I hear it even when I’m upstairs)
- Disconnect the baking form with bread immediately after the beep (use gloves!)
- Now, keep your gloves on and shake the bread out of the baking form so it can cool down
- It is easier to cut slices when the bread is still slightly warm – you can slice it and freeze it (I rarely freeze it; fresh is good for at least 3 days)
")

